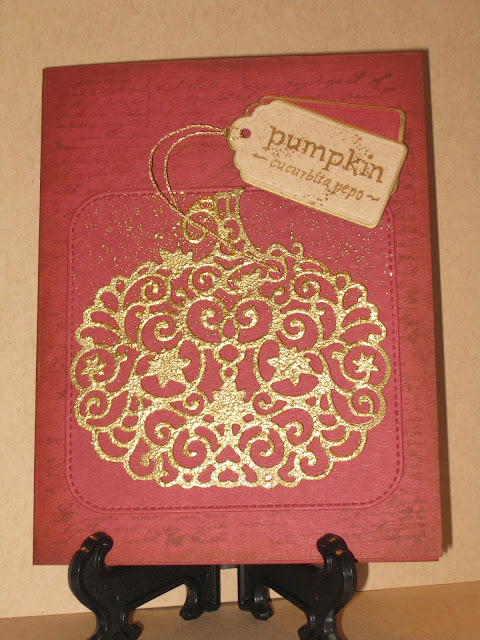
After three days of struggle with a neat layout idea that I thought would work, it was time to admit that the stars were not aligned and I needed to start over again . . .
. . . so I did. My one trick to pass along to you is about getting an intricate die cut like the pumpkin to take the ink and then the embossing powder evenly. My first attempts to ink the pumpkin prior to embossing left a lot of un-inked areas due to the uneven surface of the Bristol cardstock. So I used a lovely liquid metallic colorant to first paint the pumpkin a lovely brass/gold color. I then inked the pumpkin with a brayer and gold ink, and then scattered on the embossing powder. Because of the gold paint, any areas that were missed will never be noticed.
Cardstock: Unknown Burgundy, Marcos
Jute, Strathmore #100
Bristol
Stamps: Technique Junkies Travel
Documents, Impression
Obsession
“Pumpkin”, Purple Daisy Sand
Inks: ColorBox Gold, Distress
Brushed Corduroy
Colorants: Jacquard Pinata Brass
Emb Pwdr: Ranger Gold, WOW
Gold Rich Ultra High
Dies: Cottage Cutz Filigree
Pumpkin, Bo Bunny Nested Terrific
Tags,
Gina
Marie Stitched Rounded Squares

No comments:
Post a Comment