Monday, February 29, 2016

It's Your Day

Although little of it is likely to show in the picture below, I had a really good time with Tim Holtz' new spatter brush and some gold paint . . .


 The paint was old and very thick, so instead of spattered dots, I was gifted with some wonderful dimensional blobs – plus a filigree of very fine ropey strands.  It looks great and I'm going to try for this look again!

Cardstock:   American Crafts Earthtones: Burgundy, Bazzill Cocoa,
                           Strathmore #90 watercolor paper
Stamps:        Technique Junkies Oak Leaves, Too Much Fun “It’s your day”
Inks:               Distress Brushed Corduroy, Old Paper, Aged Mahogany,
                           Peeled Paint, Wild Honey
Emb Powder:   Vippies Transcendence, Ranger Gold
Dies:              Lil Inker Stitched Mats Dual Stitched Rectangles, Simon Says
                           Sketchy Banners
Doo Dads:    Gold Paint spattered on, ribbon flower, Scribbles Glitter Glue
                           Glittering Gold


Thursday, February 25, 2016

Sending You the Happiest

Stamper Carissa Wiley guested on Jennifer McGuire's blog recently and gifted us all with a fantastic new technique involving Copic markers, vellum, and misted alcohol.  It's so drop-dead-easy that any stamping fool can do it with no fear of failure . . .
Here's the link to Carissa's guest spot and video.


 Carissa recommended using 91% alcohol but I tried regular alcohol and got fabulous results, so it's your call as to what you use.  First, tape down your vellum to prevent curling.   Now, here's the incredibly complex (ha ha) technique:

1. Using two or three colors, scribble on vellum with your Copic markers, making solid, connected areas of color.  Overlap and stagger your edges to avoid straight lines.
2. Mist lightly with two or three sprays of alcohol from about 8" away
3. Let dry

How hard is that?  The effect is an amazingly authentic watercolored look.  Spray once for fabulous splotchy looks, or spray twice for a more blended appearance.  While wet, you can moosh the color around as Carissa did, or leave it as is for the greatest amount of texture.  For richer color, let dry, scribble on another layer, and spray again.  You now have a gorgeous background or overlay!

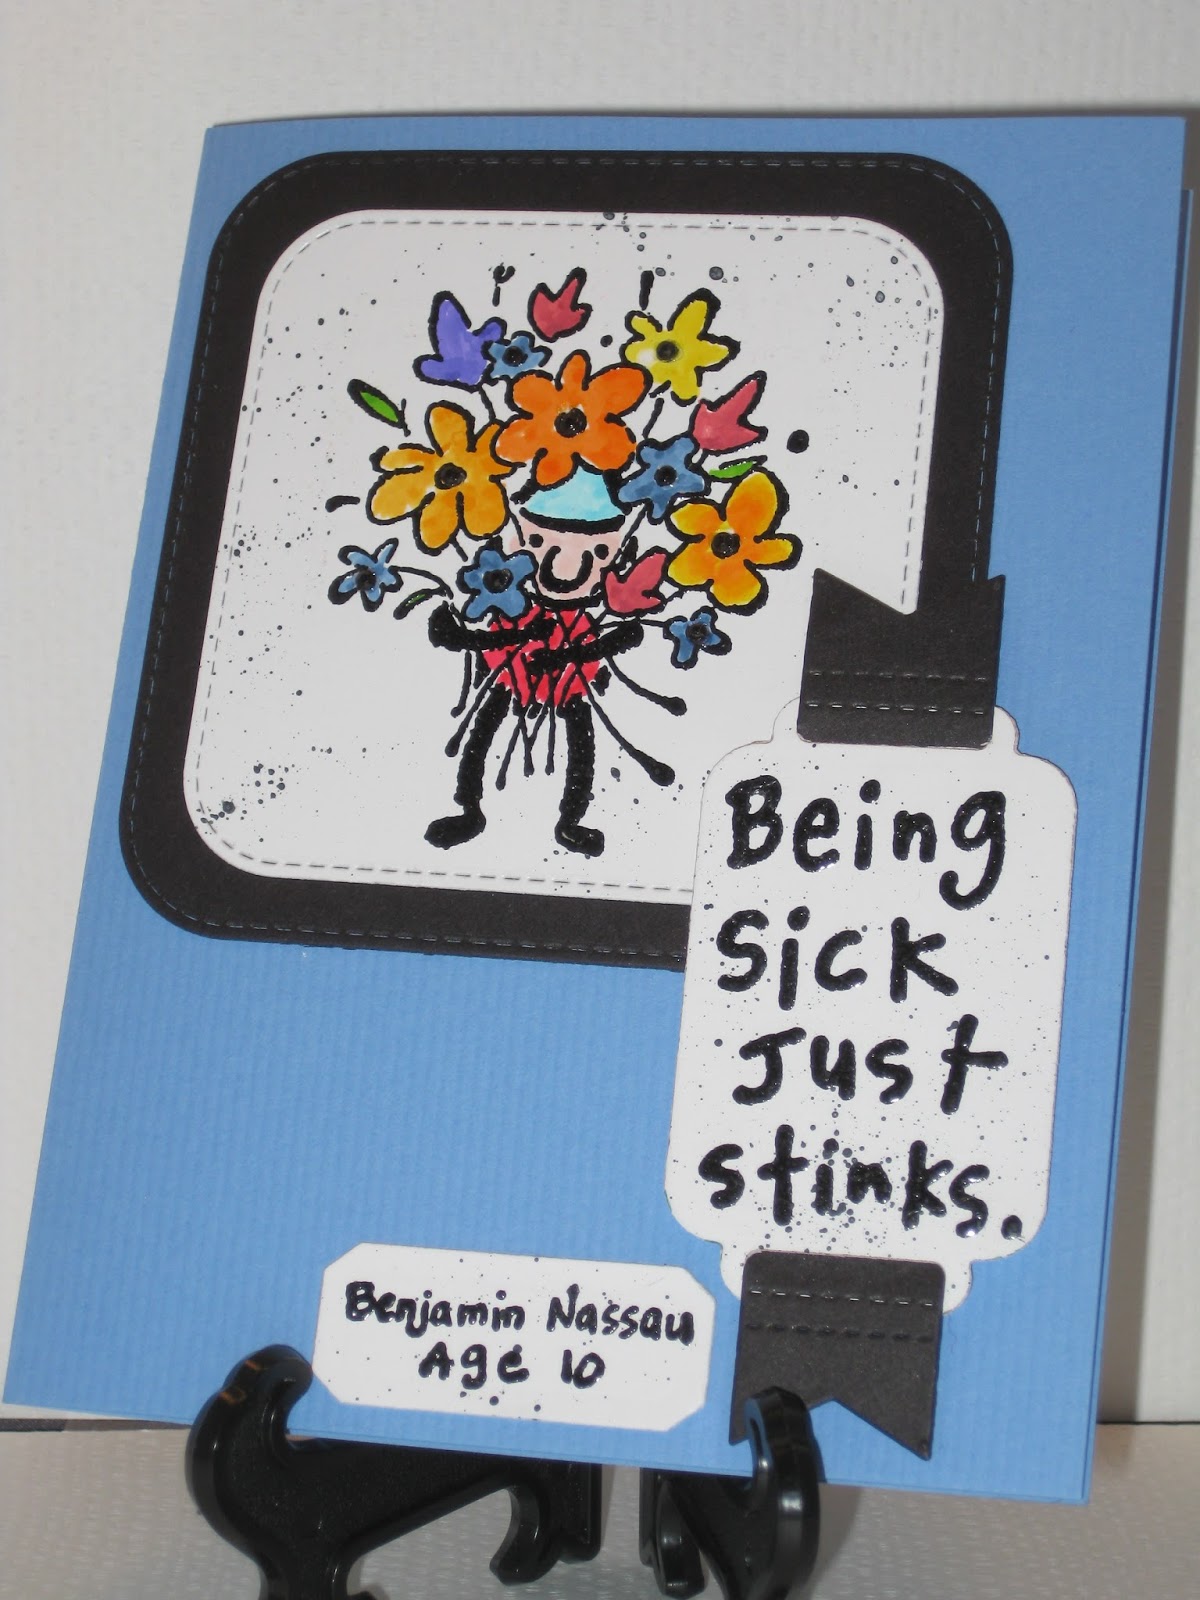
Here are the specifics I did for the card above:

Scribble with Copics, blend edges, be sloppy.  Spritz twice with alcohol, dry
Dust with anti-static powder, stamp and emboss image.  These will become the background flowers so allow for placement when you stamp them.
Spritz again and dab with stencil brush to blend and soften colors around the images. Dry.
Dust with powder and stamp/emboss more images for the foreground. Done!
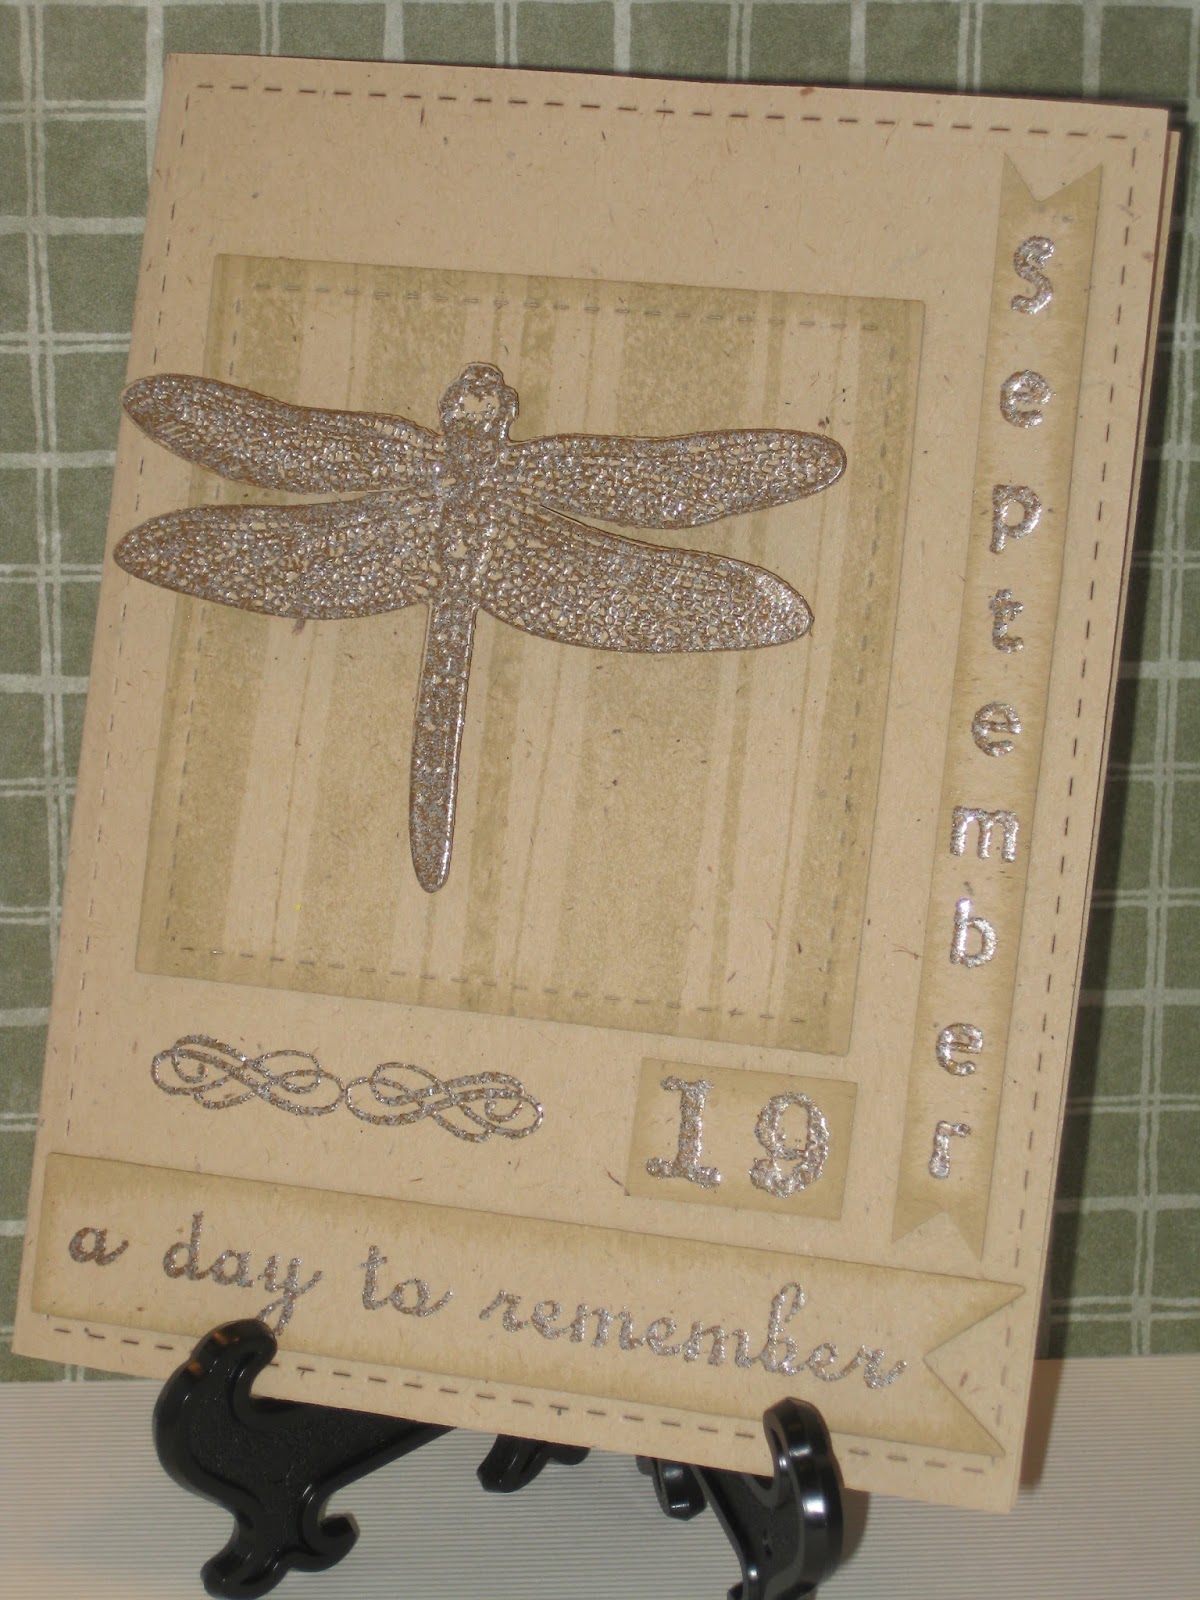
To make images stand out, run a piece of white cardstock the same size as the image panel and run it through your Xyron.  Since the panel is covered with color, none of the glue shows through.

Cardstock:   Bazzill Lagoon,  Aqua, Stampin’ Up Vellum White
Stamps:        Stampendous Agapanthus Long, Simon Says Sketchy
                           Banner Greetings
Markers:        Copic G46 Mistletoe, B26 Cobalt Blue, V09 Violet, Wink
                           of Stella Clear
Inks:               ColorBox Frost White, VersaMagic Oasis Green
Emb Powder:   Stamp Zia White Sparkle
Dies:              Lil Inker Stitched Mats Rectangles, Simon Says Sketchy                                         Banners, Memory Box butterflies Kaleidoscope, Moonlight

Monday, February 22, 2016

Celebrate

For our grandson's 9th birthday . . .


 . . . stars and balloons work for any age, right?  Green is his favorite color so I always like to work that in wherever possible.

Cardstock:   Champion Narrow Ribbed Snow Day, Wausau Firecracker
                           Red, Generic Green, Blue, Yellow
Stamps:        Hero Clouds, Stampin’ Up “Celebrate”
Inks:               Sea Shells Ocean Aqua, ColorBox Black
Emb Powder:   Judikins Detail Black
Dies:              Spellbinders Fun on a String, Avery Elle Wonky Stitches,
                           Repeat Impression Flip Stitch
Doo Dads:    Metalix Glitter Moondust, Wink of Stella Clear

Thursday, February 18, 2016

New Home

When my middle brother moved recently, it was time for a housewarming card . . .


I love working with tag shapes and realized I hadn't played with any for awhile, so it was time to break out a few tag-shaped `dies and go to town.  The top tag swings freely which is a fun element I always like to add to layouts whenever possible.

But there was too much boring space around the large tags and I decided that a stitched frame in the same cardstock as the card base would add some subtle, textured interest that wouldn't detract from the focal point.

A wee little Glossy Accented heart tops things off with lots of love . . .

Cardstock:   Bazzill Great Lakes, Lemon Tart, The Paper Cut White
                           Matte Coate
Stamps:        Stampin’ Up “On your new home” (image and text),
                           Starving Artistamps Mini Positive Words “Harmony”
Inks:               Hero Black
Dies:              Elle Wonky Stitches, Pretty Pink Posh Stitched Duo 1,
                           Spellbinders Classic Squares Small, Impression Obsession
                           All-in-One Frames: Rectangles Two
Markers:        Clean Color Wine Red, Orange, Yellow, Light Green,
                           Cornflower Blue  
Doo Dads:    Jute twine Red, Glossy Accents


Monday, February 15, 2016

Being Sick

My friend Jack has a stroke recently, and while the prognosis is good, he definitely needed some cheering up . . .


This little guy with the exuberant flowers seemed like just the right thing.  I thought that the wonderfully outspoken statement – part of Inkadinkado's Kids Sayings series – was the perfect match for the Flower Boy image.  Get well soon, Jack . . .

Cardstock:   The Paper Cut White Matte  Coate
Stamps:        All Night Media Flower Boy, Inkadinkado “Being sick . . .”
Inks:               ColorBox Black
Markers:        Clean Color Geranium Red, Red, Pale Pink, Orange, Bright
                           Yellow, Light Green, Light Blue, Dull Blue, Violet
Emb Powder:   Judikins Detail Black
Dies:              DieNamics In and Out : Stitched Rounded Square,
                           Spellbinders Ribbon Tag Trio Two, Tim Holtz Labels
Doo Dads:    Sally Hansen Nail Art Studs Black


Thursday, February 11, 2016

Wild About You

Quite awhile ago, I bought a 12" x 12" variety pack of handmade Indian papers.  The top piece in the package consisted of strips of each of the papers inside so you could see what you were getting.  I figured that trimming them down to card size ought to make some great ready-made backgrounds . . .


I got eight pieces, which was exactly what I needed.  Happy Valentine's Day!

PS  Sorry about the blurry photo - I'm having camera problems and am crossing fingers I can get this fixed ASAP . . .

Cardstock:   Generic Red, Handmade Indian paper scraps, Spellbinders
                           Vellum White
Stamps:        Impression Obsession Ornate Borders, Inky Antics “Wild
                           about you”
Inks:               ColorBox Frost White, Uni Posca Marker White
Emb Powder:   Judikins Opaque White
Dies:              Our Daily Bread Ornate Hearts, Spellbinders Fleur de
                           Lis Squares


Monday, February 8, 2016

Too Cute

This is the second of my two posts using the Reverse Ink Smooshing technique.
Scroll down for last week's sample, and a link to a one minute video showing you how easy this is to do . . .


On this one, I wanted to keep the stamped image lighter than the surrounding area.  I didn't mind a little color encroachment but I wanted some white areas showing.  So I put the acetate over the image and drew the rectangular shape on the acetate with a black Sharpie.  That gave me a guideline for smooshing.  After turning the acetate over, I used mini ink pads and put down the lightest color around the rectangle.  Then came the medium color after which I edged with the darkest.

As before, I misted the image and then laid the smooshed acetate down on top of it.  After heat drying, I laid down the acetate a second time – you'll find that there's plenty of ink left on the acetate for 2nd and even 3rd applications. 

It's these 2nd and 3rd applications that give you those lovely random droplets and shading, so don't stint on these!  Be sure to heat dry between each app . . .

TIP:  Sharpie's black ink is zippy-quick and easy to remove with a spritz of alcohol.

Cardstock:   Bazzill Ocean, Champion Snow Day, Tim Holtz Watercolor
Stamps:        Stampendous Baby Boy Block, Cloud 9 Stamp Baby:
                           Safety Pins, Studio G “Too Cute”
Inks:               ColorBox Black, Distress Tumbled Glass, Faded Jeans,
                        Chipped Sapphire
Emb Powder:   Judikins Detail Black
Dies:              Lil Inker Stitched Mats: Rectangles
Doo Dads:    Sally Hanson Nail Studs Black

Thursday, February 4, 2016

Happy Birthday to You

The Unity Stamp Company has begun a series of one-minute Quick Tips videos that are a delight to watch, take a minimum of precious time to see, and cover a wide range of  techniques from beginner on up.  This post and the next one will show my first two attempts at what Unity calls Reverse Ink Smooshing . . .


For a look at the video, go HERE.  Smooshing has become a very popular technique because really good watercolor-like results are quite easy to obtain, mess is minimal, and it all happens pretty fast.

The smooshing technique usually involves stamping your image on watercolor cardstock with waterproof ink, smooshing your choice of die ink colors on a piece of acetate, misting the acetate with water, and then pressing the acetate down over your image.

Where Unity's technique differs is that she mists the stamped image, instead of the smooshed acetate.  It's amazing how much more control you have over the color transfer this way.  You can easily cover your entire image layer as I did, or you can go for a more artsy, random watercolored look.

After pressing down the smooshed acetate, lift and keep it face up while you dry the image.  Then, press the acetate a second time and dry again.  This will give you those lovely watercolor droplets.  

Play with this method – I think you'll love it!

Cardstock:   Bazzill Classic Yellow, The Paper Cut White Matte Coate,
                           Watercolor paper
Stamps:        Stampin’ Up On Safari, Art Accents Woodcut Double Sunflower,
                           Laughing Moon Double Spiral, Too Much Fun Happy
                           Birthday to you, Mesh carpet tape used as a stencil
Inks:               Hero Black, Distress Mowed Lawn, Spiced Marmalade,
                           Mustard Seed
Dies:              Lil Inker Stitched Mats Rectangles, Frantic Stamper Open
                           Borders, Impression Obsession Medium Butterflies,
                           EK Success Scalloped Corner punch, Simon Says
                           Tilted Banners
Doo Dads:    Sequins, Sally Hanson Nail Art Studs: Gold

Monday, February 1, 2016

A Day to Remember

My husband's Name Day is September 19 and up until recently, we didn't even know he had one!  Igor was born in the Ukraine and had been told that as his name is a pagan one, he had no Saint's or Name Day to observe.  Not true:  "Igor" isn't a pagan name at all!  So we celebrated . . .


Starting with his card: I wanted to experiment with some tone-on-tone work and went to work with some soft stripes for a background.  Then as we're both admirers of dragonflies but rarely see them, I stamped and die cut one.  I found some shimmery taupe embossing powder and it worked.  Too bad Stamp La Jolla doesn't make this color anymore as I absolutely love it.  It's called "Holiday" but I really don't know why.  Anyway, it works and I'll be using it on plenty of Kraft, Tan, and other neutral projects in the future.

Cardstock:   Generic Oatmeal
Stamps:        Hero Holiday Stripes, Hampton Art “A day to remember”,
                           Stamp Zia Vertical Months, Local King Dragonflies,
                           Sweet ‘n Sassy Decorative Frame Toppers, Too Much
                           Fun Numbers
Inks:               Ancient Page Sandalwood
Emb Powder:   Stamp La Jolla Holiday
Dies:              Lil Inker Stitched Mats Squares, Rectangles, Papertrey Ink 
                          Sketched Shapes, Local King Dragonflies