Thursday, May 29, 2014

Loving

Today is our 21st wedding anniversary!  Isn’t that terrific?  While there were times I wondered if we’d make it to the next day, we actually did – and many days thereafter.  Somehow, they’ve all added up to 21 years and we couldn’t be happier . . . in addition to our strong faith, both of us have mellowed quite a bit over the years and this seems to have been the winning combination . . .


I never feel constrained to make masculine guy cards when romance is involved, such as on Valentine’s and anniversaries.  Gents like a little sweet softness on those occasions so I don’t hide the lace and pearls.  I did think that the Teal and Mustard color scheme would be a little more appealing to my guy than Baby Pink, however . . .

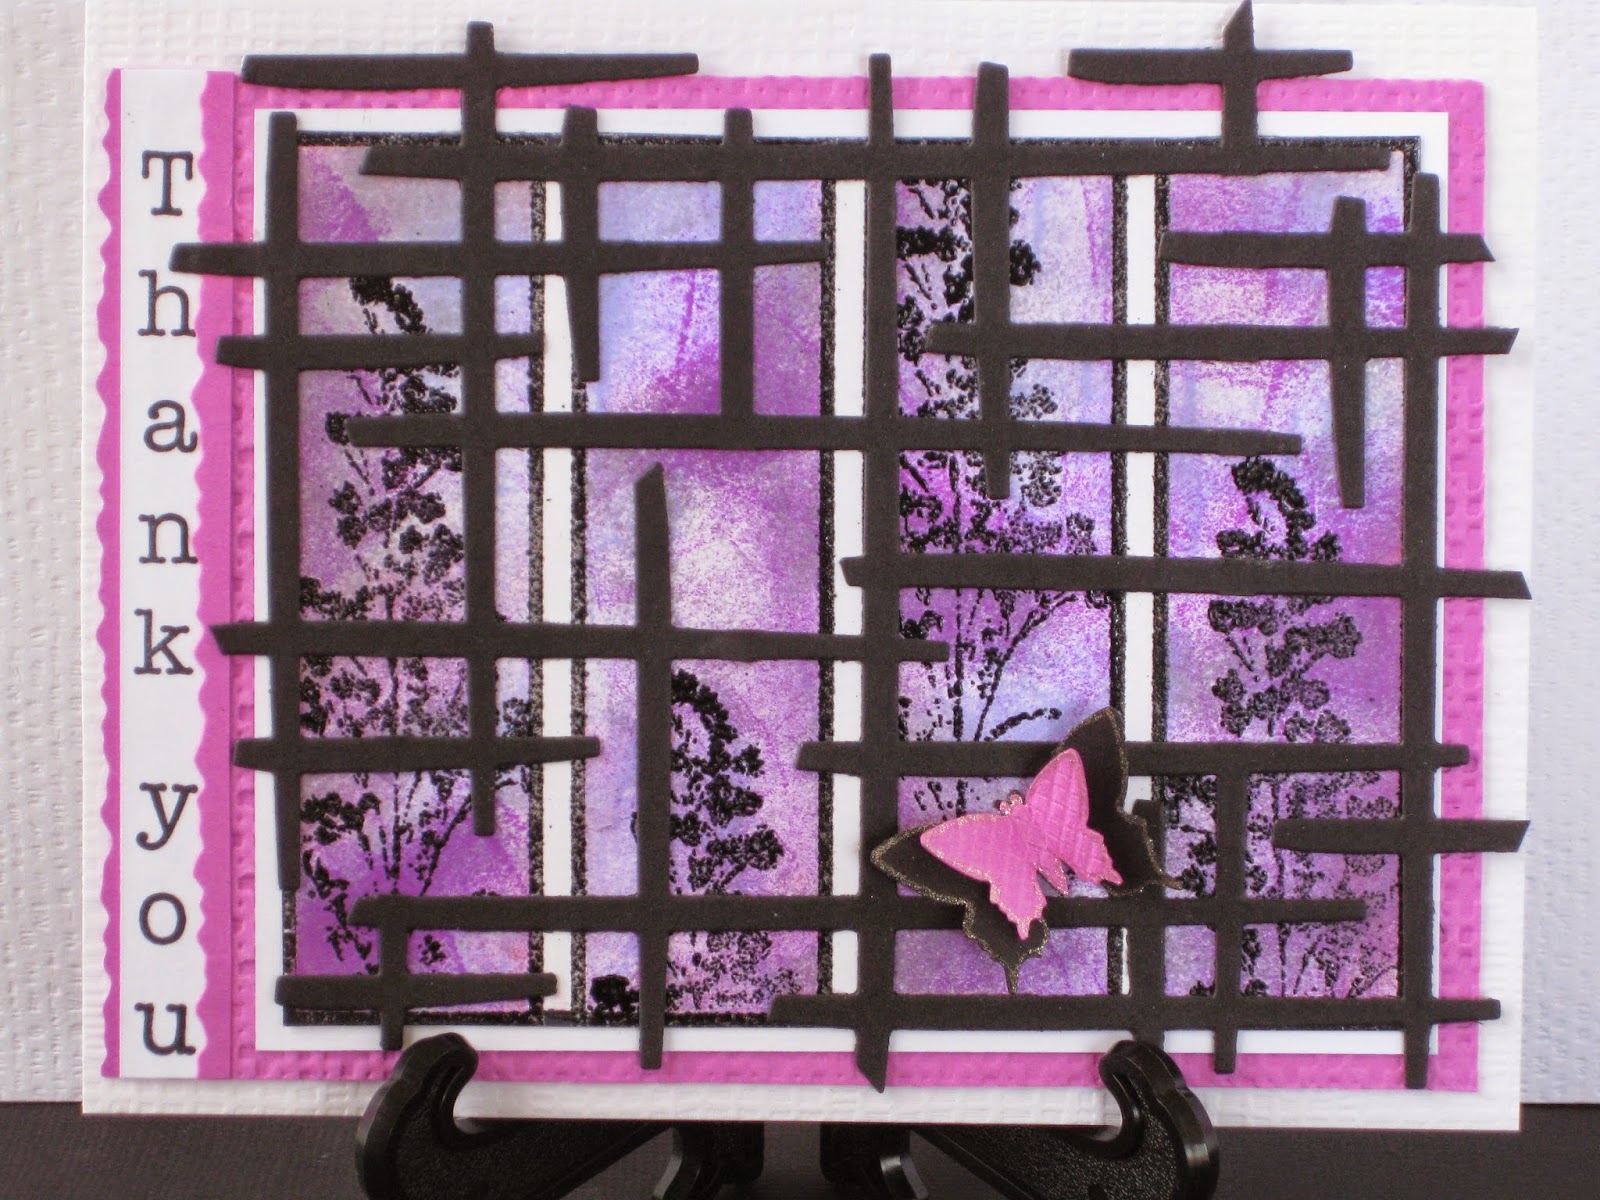
Cardstock:              Generic Mustard, Teal
Stamps:                   Impression Obsession Same Direction
Inks:                          Encore Teal, Distress Pine Needles, VersaMark
Emb Powder:          Vippies Transcendence
Dies:                          Cheery Lynn Lilith Doily Edger, Stampin’ Up Lattice
                                     Rectangles, Impression Obsession Mini Spiral Flowers,
                                         Fun Expressions Wiggle strip
Emb Folder:             Stampin’ Up Lattice Rectangles  
Impression Plate:  Cheery Lynn Cheesecloth
Doo Dads:                Teal pearls, glitter


Monday, May 26, 2014

Thank You

The background on this one was retrieved from my ever-trusty Scrap Stash and I was delighted to find it!  It has a truly spring Asian flair to it, and after the winter we’ve just had, I’ll do anything at all to celebrate the end of it . . .


I thought the Oriental-looking lattice die went well with the theme and I admit to snipping out a few of the bars in order to expose more of the design underneath. 

My happiest revelation by far, however, is the source of the typewriter text on the left. MaxStamp Pegz are compact, plastic flat-sided pegs with projections along the sides.  These allow you to snap them together horizontally or vertically – giving you scores of options with perfectly spaced letters.  I think their point size is generous and perfect for cards or scrapbooks.  They come in Uppercase, Lowercase, Numbers, and Punctuation.  Amazon has them in stock . . .

Cardstock:              Beckett Iceberg, Generic Dark Pink
Stamps:                   MaxStamp Pegz “Thank you”, Unknown Leaf Spray
Inks:                          ColorBox Black, Vivid Lavender, Fuchsia, Sky Blue,
                                       Gelly Roll Clear Star Pen
Emb Powder:          Judikins Detail Black
Emb Folder:             Stampin’ Up Square Lattice
Dies:                          Dee’s Distinctively Lattice 2, Marvy and McGill 
                                          Butterfly punches

Thursday, May 22, 2014

Wish

Lately, my passion for color sprays, stencils, and embossing paste has eclipsed almost every other technique out there.   Here’s a card that uses all three . . .

The translucent embossing paste at the top of the card front barely shows in the picture, but it adds a wonderful texture and gleam in real life.  This is a birthday card for my youngest brother, whose delightful daughter – my niece – gifted me with this birthday cake stamp a few years ago.  So you see, all good things stay connected . . .

Cardstock:              Bazzill Kachina, Marcos Antique Linen White,
                                     watercolor paper
Stamps:                   Impress Cake w/Candle, MJ Barber Asian
                                      Patchwork Background, Prima Stitching Line
Inks:                         Zia’s Color Wash Topaz, Malachite, Moss, Distress
                                      Forest Moss, Pine Needles, ColorBox Frost White
Emb Powder:          Judikins Opaque White, VIP Transcendence
Stencil:                     The Crafter’s Workshop Mini Art Is . . .
Stencil Paste:          Dreamweaver Translucent
Punch:                      Marvy 1½“ Scalloped Square


Monday, May 19, 2014

Happy Birthday

As much as I love delicate, lacy backgrounds, gluing them down can be a challenge . . .


If your layout can benefit by adding a little glitter, here’s a really quick way to get some random sparkle while firmly adhering your lacy panel.  Just use your tape runner over the back of the panel!  Some of the adhesive will span parts of the openings here and there and provide the perfect fixative for your glitter. 

Just roll the tape runner over the back of your panel and add it to your card front, pressing down carefully.  Then sprinkle on the glitter, press firmly with a sheet of scrap paper to adhere, and shake off the excess.  Voila:  randomly applied glitter for subtle shine – all of which the camera refuses to pick up, of course.  Trust me, it’s lovely!

Cardstock:              Bazzill Yellow, Beckett Moonlight, Generic Green,
                                       Purple scraps
Stamps:                   Printworks Happy Birthday
Inks:                          ColorBox Frost White, VersaMark, Gelly Roll
                                       Clear Star
Emb Powder:          Judikins Opaque White, B’Muse Brilliant Lemon
Dies:                          Marianne Creatables Flower Flourish LR0248,
                                       Cheery Lynn Japanese Lace Pattern, Spellbinders
                                   Jewel Framed Sentiments
Doo Dads:               McGill Butterfly punch,  Art Glitter Translucent Yellow,
                                    Silver stickers


Thursday, May 15, 2014

Wishes Come True

Sometimes, Grey can be the new Black, and there’s something about Charcoal Grey, Mustard, and White that really grabs me . . . how about you?


Gluing down super-skinny shapes like these hexagon outlines can be a real pain;  the ever-dreaded glue ooze is nearly impossible to avoid, along with the telltale shiny snail tracks it leaves behind.  The secret to success is to use Claudine Helmuth’s Multi Matte Medium applied as sparingly as possible with a needle nose applicator.  Then, as soon as you lay down the piece, blot firmly with tissue.  This glue dries matte and you’ll never see where you goofed.    Even though cameras don’t pick up anything shiny, you’ll have to trust me:  there are no snail trails to be found on this piece. 

LOVE that glue!

Cardstock:              Bazzill White, Cinder, generic Mustard,
                                    pre-printed papers
Stamps:                   Too Much Fun “May all your birthday wishes…”
Inks:                          Hero Black
Dies:                          Wplus9 Quilt Cuts 1, Memory Box Creekside
                                      Leaves, Impression Obsession Flags
Doo Dads:               Grey/White Baker’s Twine, Antique Gold 
                                       crystal, deckled scissors

Monday, May 12, 2014

It's Your Day

I really love this bold Happy Birthday background die . . .

 
In addition to having a great background, you get nine Happy Birthday words in various sizes and fonts which you can put aside for future use on numerous cards. 

Sounds like a deal to me!

Cardstock:              Bazzill White, Wausau Firecracker Red
Stamps:                   Stampin’ Up “It’s Your Day”
Inks:                         ColorBox Black, Encore Silver
Emb Powder:          BMuse Silver, Judikins Detail Black
Dies:                        Poppystamps Happy Birthday Background, Spellbinders
                                     Classic Frame
Doo Dads:                Silver brads, Black washers

Thursday, May 8, 2014

Love


I am so loving the current stencil mania and I hope it lasts forever and ever . . .

 
Stencils are versatile to the max, and whether you plan to sponge, trace, use embossing paste, spray, or even run through an embossing machine, your artistic options are almost limitless.  Should you need a foreground, background, focal point or sidebar, there’s probably a stencil out there just waiting for you to put it to use!

If you don’t have a word or image stamp that suits your layout, perhaps you’ve got a stencil that will fill the bill.  Just sponge your ink through the stencil (Tim’s new mini applicators are perfect for this) and either let dry, or emboss and heat to dry.   This is what I did with the word “Love” on this card.

Happily, as stencils are usually inexpensive and thin enough to store easily in a small space, you can easily rationalize building up quite a stash of them . . .  I sure am!

Cardstock:   Bazzill Pink, Marcos Antique Linen White, PaperCut
                          watercolor paper
Stamps:        Prisma Stitching Lines, Stampland Circle Block
Inks:               ColorBox Silver, Zana’s Color Wash Ruby, Sun,
                         Obsidian, ColorBox Silver, Frost White, Distress
                         Forest Moss
Stencils:        Delta Inspirational “Love”, The Crafter’s Workshop
                          Mini Tile Texture
Emb Powder: BMuse Detail Sterling Silver     
Emb Paste:    Dreamweaver Metallic Silver
Dies:              MemoryBox Moonlight butterfly

Monday, May 5, 2014

Happy Birthday

No inky pinkies today, folks . . . just die cutting . . .

 
Once in awhile I like to freak out over the limitless intricate possibilities that my die cutting machine allows me.  It’s fun to pull out various cuts I’ve put aside for future use and see if I can combine them in new ways.  This card used six dies and impression plates along with two punches, and the only stamping is on the inside greeting. 

If it’s about texture, it’s got my name on it . . .

Cardstock:               Marcos Jute, Wausau Firecracker Red
Inks:                          Distress Brushed Corduroy
Dies:                          Cheery Lynn:  Flourish from Japanese Lace, Burble
                                        Impression Plate; Savvy Flower Blossom,  
                                        Papertrey Ink: Quatrefoil, Herringbone Impression
                                        Plate; Poppy Stamps Happy Birthday
                                        Background, Carl Flower punch,  Marvy
                                        Butterfly Punch   
Doo Dads:                Gelly Roll Clear Star pen, deckled scissors

Thursday, May 1, 2014

How We Roll

Recently a dear friend of mine received the devastating news that he has Parkinson’s Disease.  Typical of both Brian and his wife Sharon, however, is to face the bad stuff, do their homework, and find out how best to combat this invasion on his health and their peace of mind.  They uncovered the startling news that vigorous exercise – especially bike riding – can make huge differences in keeping the tremors at bay.  So I took my newly arrived bicycle die and went to work . . .

 
The teamwork that these two have in their marriage and business partnership is the envy of all who are around them, and make no mistake about it, Sharon will be working right alongside Brian on whatever therapies are found to be useful.  Hopefully, a pair of flower bedecked bicycles will inspire them on their daily rides toward better health.

 Cardstock:              Marcos Jute, Neenah Solar White
Stamps:                   Eureka Fern Background, Simon Says Tilted
                                     Banners set “That’s how we roll”
Inks:                          Distress Mowed Lawn, Stormy Sky, ColorBox
                                     Black, Copics Tahitian Blue, Cadmium Red,
                                     Golden Yellow
Emb Powder:          Judikins Detail Black
Dies:                        Die-Namics Bicycle, Impression Obsession: Leaves
                                   and Stems, Tiny Flowers, Banners and Tails
Doo Dads:                Silver stickers